
Last Updated: October 25, 2026
Quick Summary
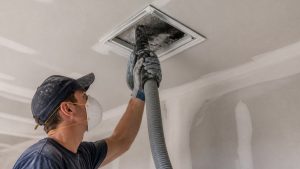
To clean construction dust from air vents, shut off the HVAC system at the thermostat and breaker, then HEPA vacuum each register, wash the covers in warm soapy water, and brush the visible duct walls while vacuuming. Replace the HVAC filter once construction ends and check it again after your first full cleaning pass.
- Close all supply registers and set the fan to off, not auto, before you start.
- Wear a NIOSH-approved N95 respirator at minimum, plus eye protection and gloves.
- Slip a plastic bag over each vent cover as you unscrew it to contain dust.
- Mist caked dust lightly with water so it clumps instead of flying.
- Never force a brush past a bend or into flex duct, which can tear the liner.
Table of Contents
- Why Construction Dust Invades Your HVAC Vents
- How to Clean HVAC Vents After Renovation: Prep and Shutdown
- Air Vent Cleaning Tools That Actually Work
- How to Clean Caked Dust From Vents and Registers
- Reaching Deeper: Cleaning Accessible Duct Interiors Safely
- Filter Selection and Replacement After Renovation
- Professional Air Duct Cleaning After Construction: When DIY Stops Working
- Schedule a Post-Renovation Vent Cleaning Walkthrough
- Frequently Asked Questions
Why Construction Dust Invades Your HVAC Vents
Construction dust is the fine mix of drywall powder, sawdust, silica, and insulation fibers left behind after a renovation. It gets into your air vents because your HVAC system keeps running while work happens, pulling airborne dust into every supply and return register in the building. What happens if construction dust is not removed explains the health and system consequences of leaving it there.
The problem is worse than most people expect. Fine particles stay suspended in the air for hours, and your system cycles that same air again and again. Each pass pushes more dust into the ductwork.
Watch out: running the HVAC during sanding and demolition is the single biggest reason dust ends up deep in your ductwork instead of on the floor.
How to Clean HVAC Vents After Renovation: Prep and Shutdown
Prep work decides whether this job succeeds. Skip it and you will push dust from one room into another, then chase it for weeks.
Shut down the system first
- Turn off the HVAC system at the thermostat and at the breaker. A running blower will fight you all day and pull loosened dust back into the return.
- Close all supply registers so debris cannot fall back down the duct run.
- Set the fan to “off,” not “auto,” so a thermostat call cannot restart the blower while you work.
Protect yourself from construction dust
Construction dust is not ordinary house dust. Drywall sanding generates fine particulate, and joint compound and gypsum can contain crystalline silica, a known respiratory hazard. The Occupational Safety and Health Administration (OSHA) regulates respirable crystalline silica exposure in construction, and its guidance is the reference most remediation crews follow.
Minimum personal protective equipment for vent cleaning after renovation:
- Respirator: a NIOSH-approved N95 at minimum; a P100 or half-face respirator with particulate cartridges if you are working in a confined space or generating visible dust clouds. A dust mask from the hardware store is not the same thing.
- Eye protection: sealed safety glasses or goggles. Fine dust migrates under the edges of standard glasses.
- Gloves: nitrile or nitrile-coated work gloves.
- Disposable coveralls if you will be reaching overhead or brushing duct interiors.
If the renovation involved known asbestos-containing materials, lead paint in pre-1978 housing, or mold, stop and get an inspection before you disturb the dust. Those are not DIY vent-cleaning conditions.
Contain the work area room by room
A practical order of operations reduces recontamination. Work from the dirtiest room to the cleanest, and within each room from high surfaces to low:
- Isolate the room with plastic sheeting and painter’s tape at doorways. Seal return grilles in adjacent rooms with plastic and tape so the system cannot pull dust into them.
- Establish a clean-to-dirty path. Keep a staging area outside the containment for tools and bagged covers.
- Clean high surfaces first, ceiling, upper walls, light fixtures, and the register frames, then work down to the vent openings, then floors last.
- Vacuum floors last with a HEPA vacuum, and bag the debris before you break containment.
Set up before you open a single register
- Lay down drop cloths under every register you plan to open.
- Stage a HEPA vacuum, brush, microfiber cloths, and plastic bags at the doorway so you are not walking in and out of containment.
- Give yourself a clear path in and out. You will carry dusty vent covers through the space, and you do not want to drag them across clean floors.
Running the HVAC during sanding and demolition is the single biggest reason dust ends up deep in your ductwork instead of on the floor. If work is still ongoing, tape off the returns before the crew starts, not after.
Air Vent Cleaning Tools That Actually Work
The right tools make this job faster and safer. A shop vac alone will not cut it.
Gather these before you start:
- HEPA vacuum with a brush attachment. A HEPA filter traps fine particles instead of blowing them back into the room (the EPA).
- Duct-cleaning brush with a flexible handle for reaching past the vent opening.
- Microfiber cloths for wiping register frames and surrounding surfaces.
- Warm soapy water in a bucket for washing vent covers.
What most guides miss is the bag trick. Slip a plastic bag over each vent cover as you unscrew it.
For buildings where chemical sensitivity is a concern, plain soap and water does the job. See post-construction cleaning without harsh chemicals for safe methods and products.
How to Clean Caked Dust From Vents and Registers
Caked dust needs a different approach than loose dust. For broader guidance, see how to remove drywall dust after renovation. Dry-brushing a thick layer just launches it into the air.
Work in this order:
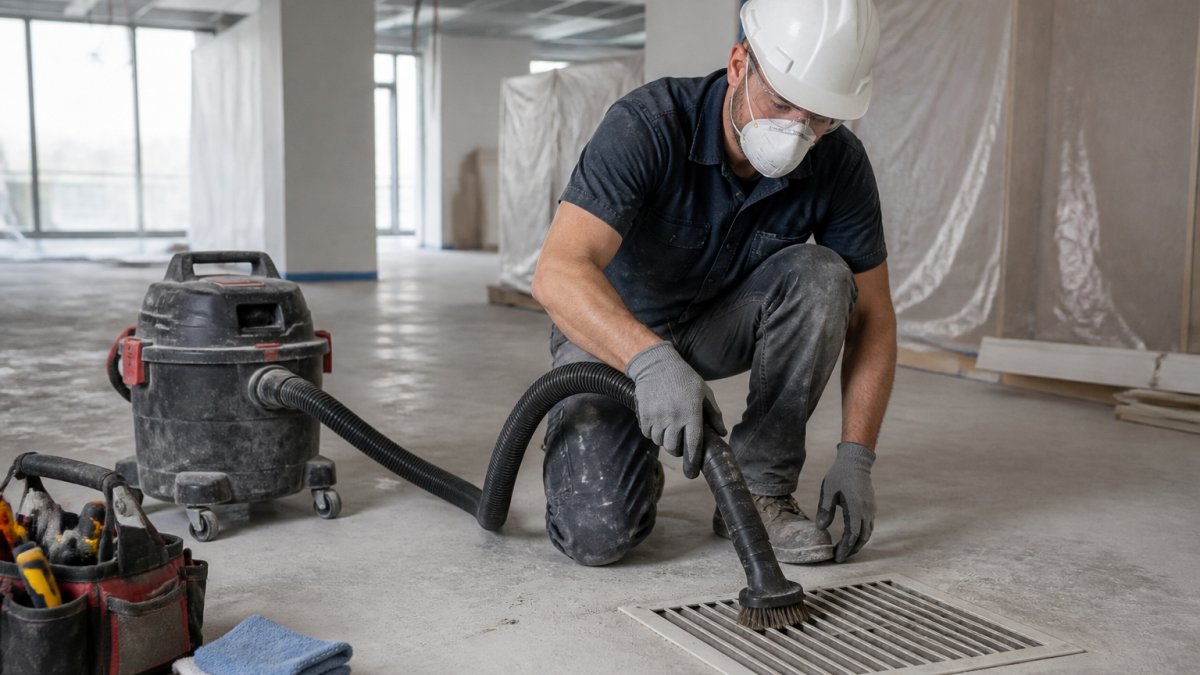
- Mist the caked dust lightly with water from a spray bottle. Damp dust clumps instead of flying.
- Vacuum the loose top layer with the brush attachment before you scrub anything.
- Remove the vent cover and bag it.
- Wash the cover in warm soapy water, then rinse and let it dry completely before reinstalling.
- Scrub the duct opening and visible duct walls with the duct brush, vacuuming as you go.
- Wipe the surrounding wall and ceiling surfaces with a damp microfiber cloth.
Let covers dry fully. Reinstalling a damp cover invites rust and mildew.
Reaching Deeper: Cleaning Accessible Duct Interiors Safely
Surface dust and deep debris are two different problems. Here is how to tell them apart.
Shine a flashlight into the duct opening. If you see a light film, you are dealing with surface dust, and brushing plus vacuuming handles it.
For accessible duct interiors:
- Use a flexible duct brush to scrub the first reachable section of duct wall.
- Keep the HEPA vacuum running at the opening while you brush so loosened dust gets captured.
- Never force a brush past a bend or into flex duct. You will tear the liner.
- Do not pour water into a duct. Moisture in ductwork leads to mold.
Watch out: puncturing flex duct or dislodging joint tape turns a cleaning job into a repair job. If the duct resists, stop.
Filter Selection and Replacement After Renovation
Your air filter is the cheapest line of defense, and renovation dust destroys filters fast. Replace it once construction ends, and check it again after your first full cleaning pass.
Filter selection matters:
| Filter Rating | Best For | Change Frequency After Reno |
|---|---|---|
| MERV 8 | Basic dust capture, older systems | Every 30 days until dust settles |
| MERV 11 | Most commercial spaces | Every 30 to 60 days |
| MERV 13 | High indoor air quality needs | Check system compatibility first |
Higher MERV ratings capture finer particles, but they also restrict airflow. Check your system’s manual before jumping to a high rating, since some blowers cannot handle the resistance. The EPA guide to indoor air quality and filtration explains how filter ratings work and what they capture.
Professional Air Duct Cleaning After Construction: When DIY Stops Working
DIY cleaning handles the vents and the first stretch of duct. Before you decide, review the benefits of hiring professional construction cleaners. It cannot handle the whole system, and after a renovation the difference matters.
Signs DIY is no longer enough
Call a professional when you see any of these:
- Debris visible past the first duct bend, drifts, chunks, or material you cannot reach with a brush on a flexible handle.
- Dust returns within days of a thorough cleaning, which usually means the source is upstream in the trunk line or plenum.
- Multiple rooms affected at once, pointing to a system-wide problem rather than a single register.
- A system that has never been professionally cleaned, especially in an older building where decades of debris sit behind the renovation dust.
What a thorough post-construction duct cleaning should include
A legitimate scope is more than a vacuum at the register. Ask whether the quote covers:
- Source removal with negative-pressure equipment, a HEPA vacuum or negative-air machine connected to the system so debris is pulled out, not pushed into the room.
- Pneumatic or rotary brushing of the full accessible duct run, including the trunk line and plenum where construction dust accumulates.
- Cleaning of all supply and return registers and grilles, not just the visible faces.
- Cleaning of the air handler, blower, and coil if debris has collected there.
Questions to ask before you sign
- Are your technicians certified by a recognized body such as NADCA (the National Air Duct Cleaners Association)?
- Will you use negative pressure, and can you show me the equipment?
- Does the quote include the air handler and coil, or only the ducts?
- Do you provide before-and-after documentation?
- What is your policy if dust returns within 30 days?
What it costs and why
The economics are simple. One thorough cleaning beats three rounds of DIY that keep missing the source.
If you cannot see the far end of the duct with a flashlight and the dust keeps coming back, the problem is past your reach. Get an inspection before you spend another weekend on it.
Schedule a Post-Renovation Vent Cleaning Walkthrough
The last step is verification. After cleaning, run the system on fan-only for a short cycle and check the registers for dust streaks.
Then lock in the fix. You can schedule a post-renovation vent cleaning walkthrough with our team and get the job on the calendar before dust settles into your workspace.
At Guso Janitorial Services, we handle construction cleanup and commercial cleaning around the clock, with clean and green products and a fully licensed, bonded, and insured crew.
Frequently Asked Questions
How do I get caked dust out of vents?
Start by turning off the HVAC system and removing the vent cover. Wash the cover in warm soapy water and let it dry completely. For the vent interior, use a HEPA vacuum with a brush attachment to loosen packed dust, then follow with a duct-cleaning brush for stubborn buildup. Wipe surrounding surfaces with a damp microfiber cloth. Caked construction dust often needs a second pass because fine particles settle and compact, so plan to repeat the vacuum-and-wipe cycle until the cloth comes away clean.
Should you turn off the HVAC system before cleaning dusty vents?
Yes. Turn off the HVAC system at the thermostat and, if accessible, at the breaker before you remove vent covers or vacuum duct openings. A running system pulls airborne construction dust into the return vents and pushes it through supply vents into every room, which spreads the problem you are trying to fix. Keeping the system off during cleaning also protects the blower and evaporator coil from drawing in loose debris. Leave it off until covers are back on and surfaces are wiped.
Can construction dust damage an HVAC system?
It can. Fine drywall and wood dust coat the blower motor, clog the air filter faster than normal, and settle on the evaporator coil, which reduces airflow and makes the system work harder. In severe cases, dust buildup can shorten equipment life and raise energy use. Replace the HVAC filter right after cleaning and check it again within a few weeks. If you notice reduced airflow or unusual noise after a renovation, have the system inspected before running it for long periods.
When should you hire a professional for air duct cleaning after construction?
Call a professional when dust has moved past the vent openings into the duct runs, when you see debris on the blower or coil, or when the building has multiple floors and zones with heavy construction dust. Professional air duct cleaning after construction typically includes negative-pressure containment, HEPA vacuuming, and brushing of accessible duct interiors. Ask about service scope, containment methods, and whether they verify results with photos before you book.

Leave a Reply